Ultrawide Window Management
This is not a post on which Desktop Environment is finally going to rule them all! That conversation is happening elsewhere and I suspect will never end. This is a post discussing the ways you can optimise your windows within a DE.
As a user of an UltraWide 21:9 monitor I am a fan of having multiple windows on screen at once. Tiling window managers are very interesting in their default abilities to arrange windows in a fixed fashion. However, I often feel too restricted, too trapped, and fumbling around with the appropriate hotkeys. Additionally, with an UltraWide monitor a single app can be stretched too far. Two apps can defocus the main app that I’m using when split down the middle 50/50. I want more choice, more flexibility, to empower my scenario.
My setup works for both Windows and Linux, with different benefits and flexibilities to each. As Linux is my main daily driver, I will start there, then follow on with Windows.
What Tiling?
I always want my main app right in front of me, bang in the centre of my screen, with secondary supporting apps around that. This may be what I’m writing right now in MarkText, with Firefox to the left for quick searches and the thing I’m talking about on the right (see screenshot below). This is my default layout, splitting my screen equally across 3 windows.
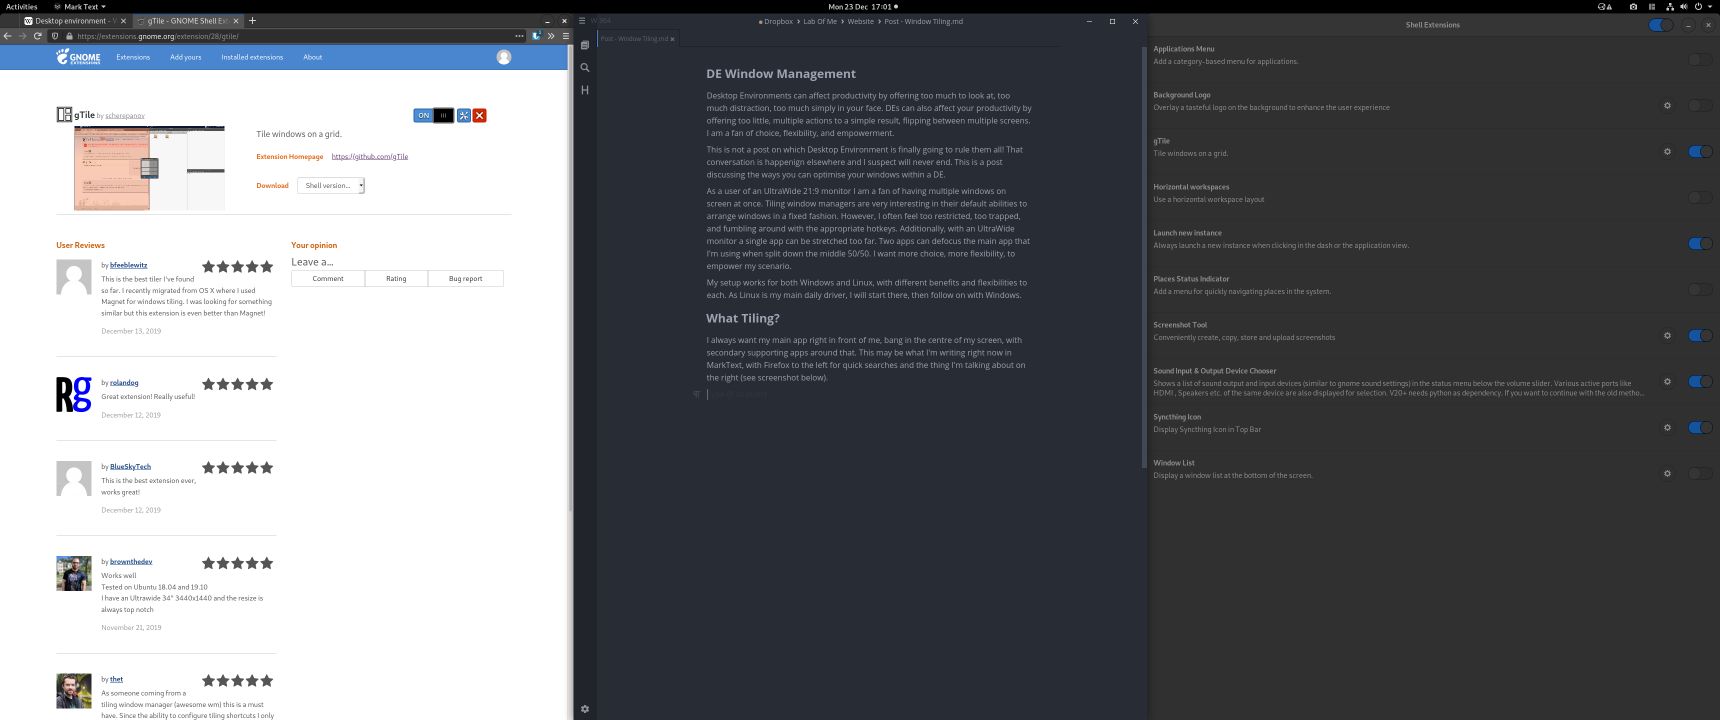
Screenshot of 3 equal panes
This isn’t perfect for all scenarios, so back to my desire for choice and flexibility, I have additional layout options. The first is an alteration on my default, but giving the centre window more space, about 55% of the screen. Then the other two supporting windows are narrower, but not too narrow to be useless (see screenshot below).
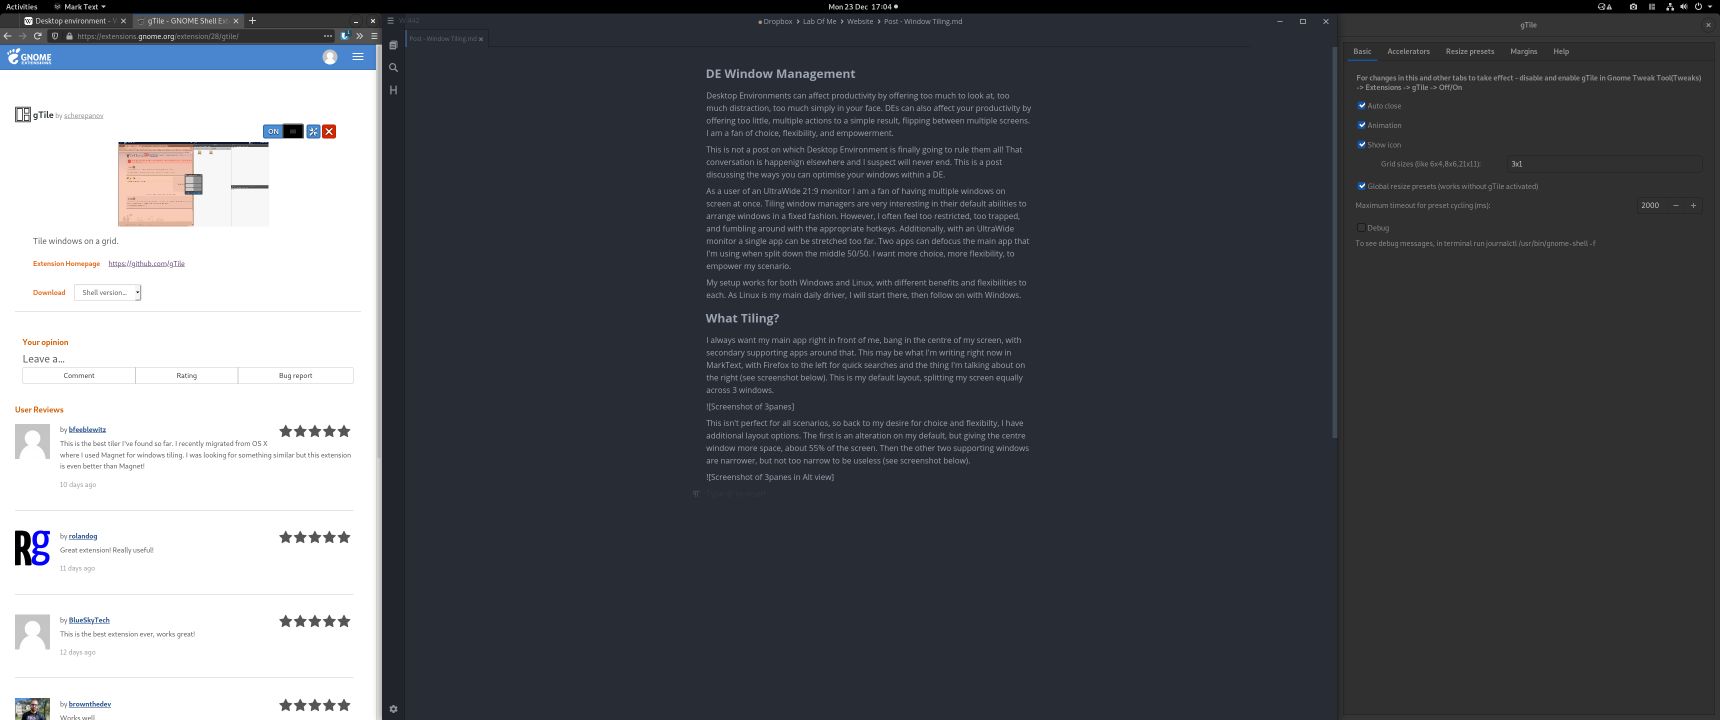
Screenshot large primary pane
Taking things one step further, the last alteration applies to both of those scenarios. I can take a window and have it fill 2 zones. This is great for having a large remote desktop session to one side, and notes/browser/guide alongside. I can have this on the left, or the right (see screenshot below).
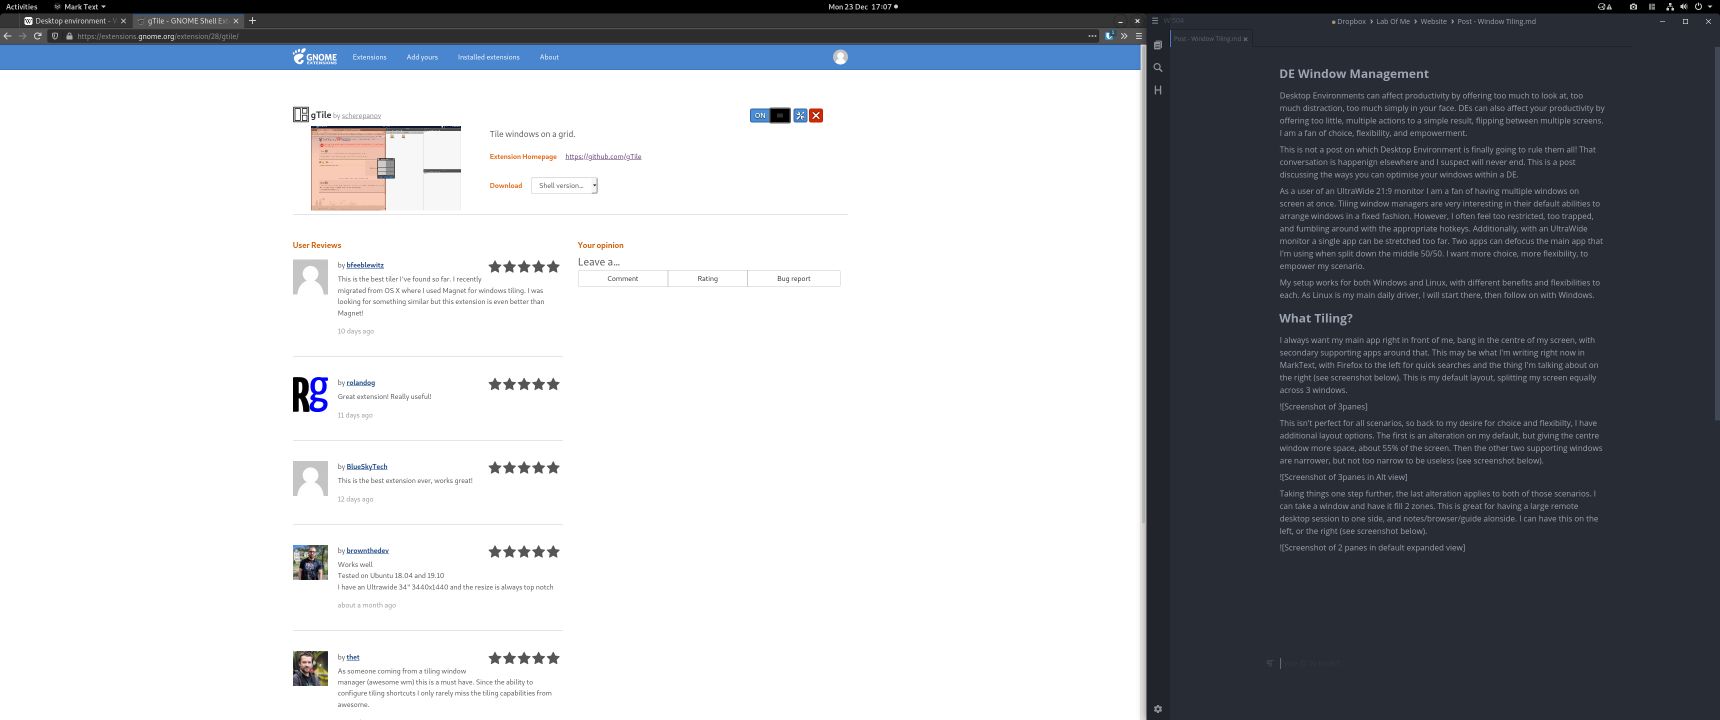
Screenshot expanded left pane
These are not fixed layouts, they are just my preferred ones, which I map to fixed hotkeys. The few times I need something more complex, I either do it manually, or use some of the features of the tools discussed next.
| Hotkey Prefix | Style |
|---|---|
| Super + Ctrl + ? | My Default |
| Super + Alt + ? | Wide Centre |
| Hotkey Suffix | Panes |
|---|---|
| Prefix + 1 | 1 |
| Prefix + 2 | 2 |
| Prefix + 3 | 3 |
| Prefix + 4 | 1 + 2 |
| Prefix + 5 | 2 + 3 |
Linux
As a Gnome user I can only discuss what works for me, if you prefer KDE or other there may be a fork for your flavour of DE. I did create a script to do this in Linux, as I did for Windows, but after finding gTile I determined they have a better and more reliable implementation. If you’re interested here is what I made, it worked for most apps whilst I was on XFCE, but when on Gnome I couldn’t get it to work reliably. Also some windows had different decorations, so were offset at times.
gTile, as the name suggests, is created for Gnome specifically. This Gnome-shell extension works flawlessly for my needs, but is highly configurable beyond them, as well as having a UI for selecting more complex layouts.
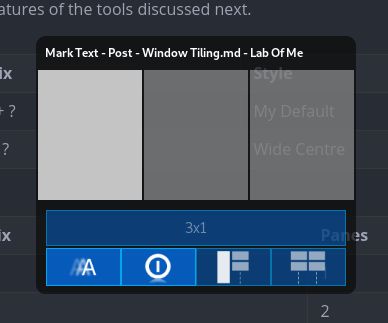
gTile Layout UI
However, I almost never use this UI, as gTile supports hotkeys out of the box, and I’ve configured those as I need. The hotkeys come under Accelerators which then map to Resize presets. These presets are definable by you.
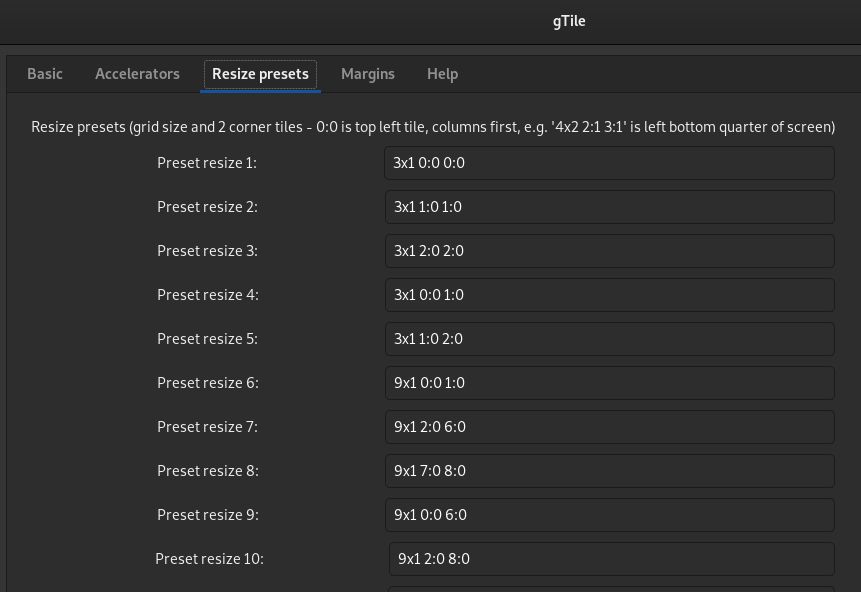
gTile Config UI
That’s it! It’s really simple to get working, the layout syntax can be tricky at first but you’ll wrap your head around it. The gTile Github page has some examples and a table chart to explain this too.
- The first part is the layout description, the number of panes you want in total.
- For my default of 3 equal panes that is
3x1. 3 columns x 1 row. - For my wider, I have 9 columns with the small ones consuming 2, and the larger centre one consuming 5.
- For my default of 3 equal panes that is
- The second part is the starting point, where the top right of the window should be.
- Machines start counting at 0, so here we will too, our total will be 1 less than we specified. For 3 panes, my last pane is 2, as we started counting at 0. 0, 1, 2 is 3 numbers, 3 panes.
- For my first hotkey that starts at
0:0, the column and 0 row. This expands across no other areas, so it also ends at0:0 - For my second hotkey that starts at the second column of
1:0and ends in that same column of1:0. - For my wide hotkey we start in the same first column of
0:0but this time we expand into the second column of1:0. - Once you have your head around that, doing more complex ones are just bigger numbers. It may be easier to create a table drawing of your desire as the Github page has.
- All of mine are single row, so they all end in
?:0.- I have had 2 rows in the past, they work exactly the same as columns, but I too rarely used them that I couldn’t remember the hotkey.
Windows
For a long time I had to use Windows, sometimes I still do, but I don’t want to be hampered because of that. Fortunately there is a great tool available for Windows called AutoHotKey. AHK is a super powerful tool for automating many interactions within Windows. There is a great AHK community who have made a bunch of things. Often when you think something can’t be automated, because a human needs to click X, copy Y, scroll down to Z, then AHK could actually be a solution!
In AHK you create your own scripts, put them in your Windows startup folder, and they will run in the background. The script sits quietly waiting for a key combination that you defined, then runs your script until the end.
I used AHK to create what gTile provided for me in Linux. I didn’t do it all on my own, there is a big chunk of work done by shinywong for determining the monitor index/size/positioning. Full credit to shinywong on that piece, it’s more complex than my parts, and together they create a really useful script.
My script starts with the user input triggers which then call a function for placement. The cool part is that the function is stateless, in that the layout is not determined by it, or any associated config. The layout is passed each trigger, so you can easily customise it per trigger, or copy it for variations on the say layout.
#+1::TileActiveWindow(3,0,1,1,0,1)This is the trigger, the prefix of #+1 is AHK markup to say the hotkey WindowsKey + ShiftKey + 1 will trigger the function TileActiveWindow with the config of 3,0,1,1,0,1.
You determine whatever hotkeys you want, the AHK documentation has a list of all the possibilities, with special keys often having a symbol.
You determine the config, but what does that config mean? I split it into 6 numbers, the first 3 being the column information and the second 3 being the row information. So 3,0,1 is the column and 1,0,1 is the rows. For a single row layout they all end in the same row information.
Column 3,0,1 . The 3 means there are 3 columns. The 0 means start in the 0 column, the first column, when counting from 0. The final 1 is the last column to consume, so this is 1 column wide.
This is all you have to define, the rest of the script can be untouched.
; --------------------------------------------------------------------------------------- TRIGGERS
; EXAMPLE
; TileActiveWindow(
; number of columns, ( Number of columns in desired layout )
; starting column, ( Starting inclusive column to place current window in )
; ending column, ( Ending inclusive column to expand current window to )
;
; number of rows, ( Number of rows in desired layout )
; starting row, ( Starting inclusive rows to place current window in )
; ending row ( Ending inclusive column to expand current window to )
; )
;
; FULL HEIGHT COLUMNS
#+1::TileActiveWindow(3,0,1,1,0,1)
#+2::TileActiveWindow(3,1,2,1,0,1)
#+3::TileActiveWindow(3,2,3,1,0,1)
#+4::TileActiveWindow(3,0,2,1,0,1)
#+5::TileActiveWindow(3,1,3,1,0,1)
 ;
#1::TileActiveWindow(5,0,1,1,0,1)
#2::TileActiveWindow(5,1,4,1,0,1)
#3::TileActiveWindow(5,4,5,1,0,1)
My script takes the work of shinywong and then does window placement based on the values provided.
; --------------------------------------------------------------------------------- DYNAMIC LAYOUT
TileActiveWindow(columnTotal, columnStart, columnEnd, rowTotal, rowStart, rowEnd) {
 WinGet activeWin, ID, A
 activeMon := GetMonitorIndexFromWindow(activeWin)
 SysGet, MonitorWorkArea, MonitorWorkArea, %activeMon%
 ; Determine scope
 availableWidth := (MonitorWorkAreaRight - MonitorWorkAreaLeft)
 availableHeight := (MonitorWorkAreaBottom - MonitorWorkAreaTop)
 oneColumnWidth := availableWidth / columnTotal
 oneRowHeight := availableHeight / rowTotal
 oneColumnWidth := Round(oneColumnWidth)
 oneRowHeight := Round(oneRowHeight)
 adj := 8 ; Adjust for spacing (not sure why this occurs)
 ; Determine X info
 posX := ( oneColumnWidth * columnStart )
 endPosX := ( oneColumnWidth * columnEnd )
 width := ( endPosX - posX )
 posX := ( posX - adj ) ; Adjust for spacing (not sure why this occurs)
 width := ( width + ( adj * 2) ) ; Adjust for spacing (not sure why this occurs)
 ; Determine Y info
 posY := ( oneRowHeight * rowStart )
 endPosY := ( oneRowHeight * rowEnd )
 height := ( endPosY - posY )
 height := ( height + adj) ; Adjust for spacing (not sure why this occurs)
 ; Move the window
 WinMove,A,,%posX%,%posY%,%width%,%height%
}
Here is the full script.
Wrap Up
I hope you find either of these tools useful. Either you’re content with what you’ve got, or you’re yearning for something like that, I know I was. Give them a shot. If you’re on Windows then explore AHK more, it’s a really powerful tool!
Thanks for reading.